

Tuesday, 22 November 2011
Influence Map 10.0 (Colour Palette for Extract 2)
This is another colour palette that I have used within the drafts of designing my second concept piece using Photoshop to be able to take the colours I need from the map and adjust the contrast to get different shades for the progression of the second extract. This is another Influence map that should have been uploaded a while ago.


Influence Map 9.0 (Colour Palette for Extract 1)
Here are the colour schemes that I looked out over the internet to see what colours would work best for the first concept piece from extract one (cave/lava scene) and that I could use this map during the progression of my concept piece through Photoshop. This should have been uploaded a while ago but it slipped my mind.


Unit 2: Photoshop Session 5.0
These are my concept designs that I have done within the 5th Photoshop session with Phil before the Crit for unit 2. I have nearly completed the first concept piece as well as the second concept piece.


The second concept I started it off with the silhouettes and using the colour palette map that I created for this extract I started to add the colours into the foreground mushrooms and then the middle ground mushrooms which are quite blurred from the distance between the foreground and middle ground mushrooms.


I didn’t want to go to the style of traditional mushrooms plan stalk and plan top with the same colour between the both. I wanted a more forest feel with them so I tried different techniques with using the texture brushes to add moss around the top of the mushrooms and a more tree like bark for the stalks of the mushrooms to get a more tree like design with them to emphasize the fact it’s a forest of giant mushrooms.


Near the end I started to add light sources in from the top right of beams of light trying to break through from the mushroom trees that are higher then what the viewer can see. From certain light beams that hit lower mushrooms I wanted the light to bounce off and add a bit of light maybe under the taller mushrooms from the intensity of the beams of light which are in the concept piece below.

I want to adjust this one some more before the Crit but depending on how the third concept piece goes I don’t know if there will be anytime, just need to see what will happen. But with what I’ve done so far I’m proud of these pieces and I’m looking forward to seeing these finished.
Thumbnails of Extract 2
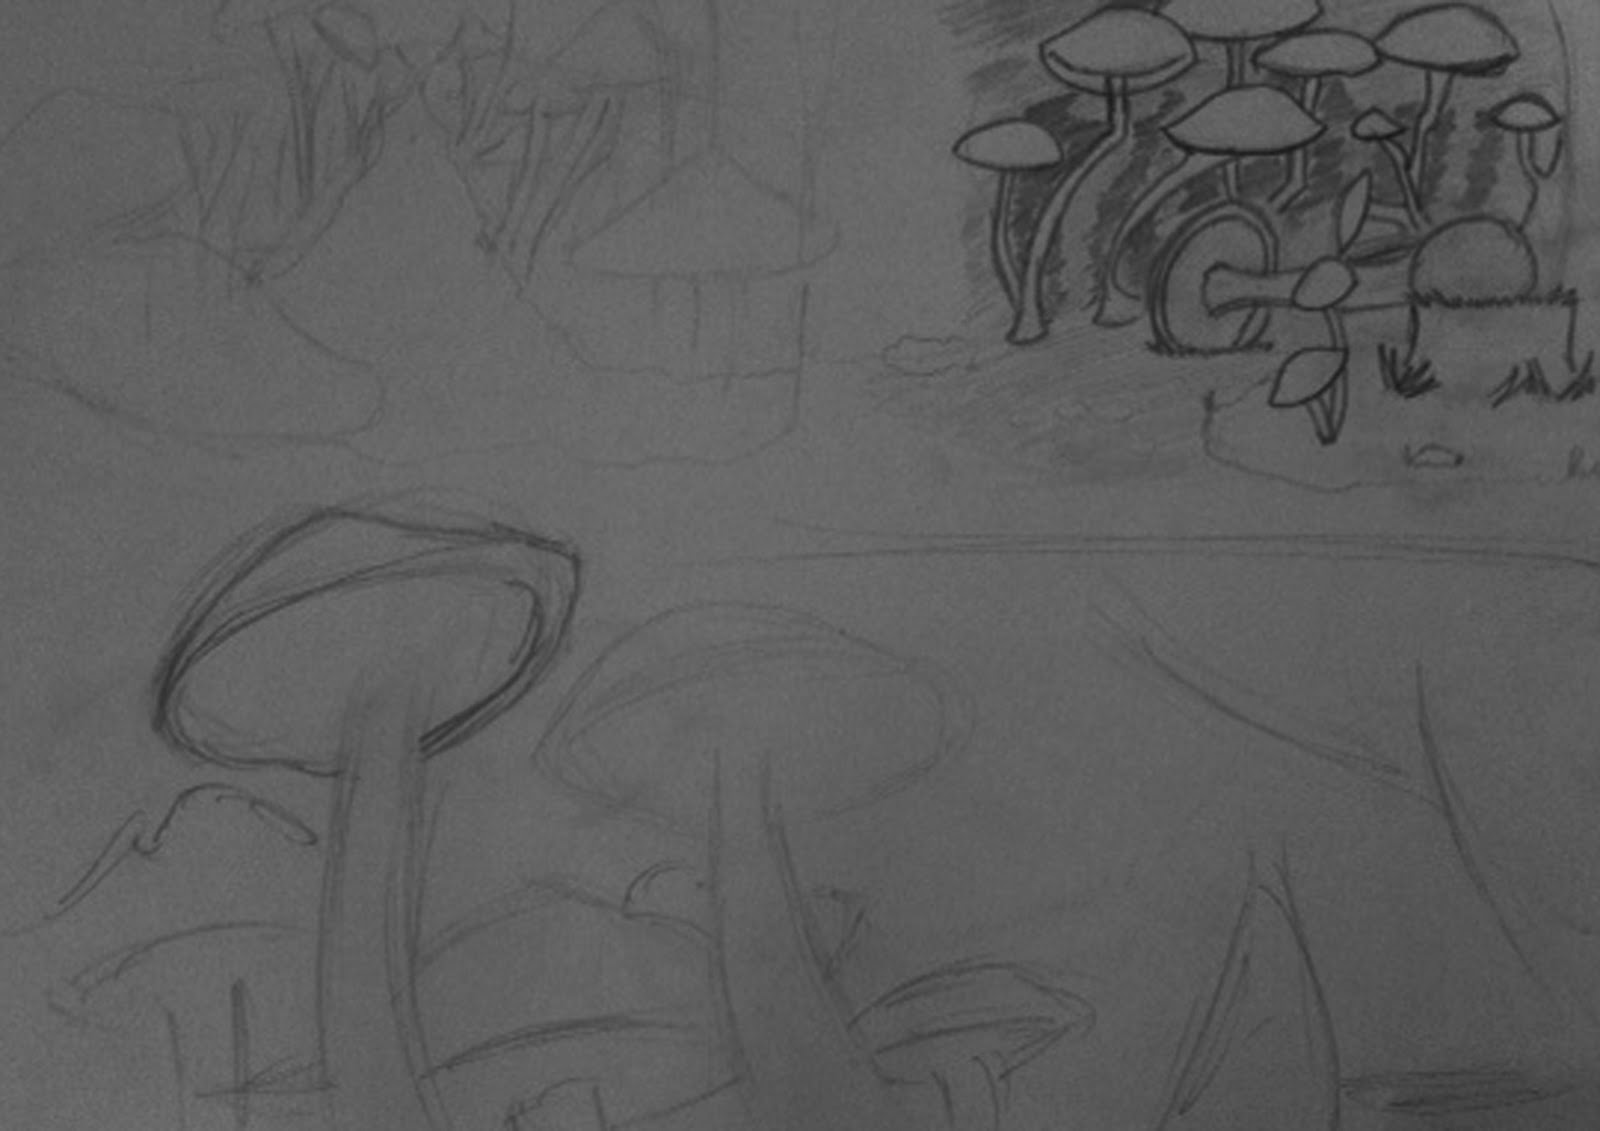
Here are the first thumbnails that I have done for the second extract of Journey to the Centre of the Earth, these were supposed to be up on my blog a while ago but in time I forgot about it till now so I’m getting my blog all updated before Thursday to save less hassle.
I apologise for the lack of quality in the first image, my camera is not very good and I don’t have a scanner, I’m waiting on a new camera soon to get better quality images to put on my blog.


I apologise for the lack of quality in the first image, my camera is not very good and I don’t have a scanner, I’m waiting on a new camera soon to get better quality images to put on my blog.


Monday, 21 November 2011
@Phil - Written Assignment Introduction
Firstly I’d like to say thank you for the help and support that you and the other members have dealt with my situation and I really appreciate it.
I know this is later then it should have been for the introduction but I had a few problems setting it up. One problem was I found a letter which I wanted to use as a source but it was from the Internet, I have checked the Harved method on myuca but it doesn’t show any examples of what a letter from the internet should look like on the bibliography. I’ll send you what I have put it down as in my bibliography if you can you double check for me just in case.
Written Assignment Introduction
Within this written assignment the investigation will consist of analysing critically the production design and visual concepts to Ridley Scott’s, ALIEN (1979). The research that will help evidence the assignments will be referenced from Stephen Rebello’s interview with Jean-Pierre Jeunet, Director Tales of an Alien; this will explain the process of shaping Alien: Resurrection into a worthy successor like it’s predeceases production designs and visual designs. The second source is a letter sent from James Cameron (in 1987) to Mr Leslie Barney about his inspiration to direct the film ALIENS from H R Gigers originality for the first film series adaptation, this evidence will help define the views off the production designs that Cameron is putting across about Gigers designs for this assignment. The final source is ALIEN Revisited: An Interview with Ridley Scott, by Steve Biodrowski (2008) is an interview about Scott’s experience directing the film and the challenges of the product designs, visual concepts, storyboarding etc., This will help to finalize the assignment before the conclusion gaining the directors perspective to analyse critically.
Here’s the letter reference and how I’ve laid it out in my bibliography
Cameron, James (1987). [Letter to Leslie Barney dated 13 February 1987]. New York. http://www.hrgiger.com/frame.htm (Accessed on 21/11/2011).
Sunday, 20 November 2011
Unit 2: Photoshop Session 4.0
Within this Photoshop session I used the advice that Phil and Photoshop Phil had given me about making my first concept piece have more cool colours in as well as making it more lava like and volcanic for the rocks as well as the lava. So within the time we had I used their insight to make my first concept piece stronger and carried on with my second concept piece as well as adding in the perspective lines to it for the horizon point.
On the first print screen I changed the foreground to jet black and started to add streaks off warm orange and red using the caligravic tool pre-set which is a good tool for lava. I then added more rocks into the lava waterfall and made the ones that are closer bigger and the ones that are further away smaller. I also changed the style of the rocks making more volcanic like.


On the first print screen I changed the foreground to jet black and started to add streaks off warm orange and red using the caligravic tool pre-set which is a good tool for lava. I then added more rocks into the lava waterfall and made the ones that are closer bigger and the ones that are further away smaller. I also changed the style of the rocks making more volcanic like.

These print screens is off the second concept piece and the process that I have got so far with this, the red lines indicate the horizon lines and the perspectives, I used a mushroom brush that I created with Photoshop Phil but I have seem to have saved it somewhere and now I cannot find it. I really liked the effect it gave too the background though, also I have used silhouettes off mushroom trees to put in the background as well to add to the effect that the viewer is looking into a forest of mushroom trees, just need to make adjustments and make it more authentic.


The last print screen of the second concept piece is more on the lines off getting more of the mushroom tress in as well as making the foreground have more of an impact. They are still silhouettes and have no major colours yet other than different shades of green but I want to add them in soon.

Unit 2: Maya Session 4.0
In today’s session I carried on with the Maya work for the hotel design. When I last was on Maya I was finishing the cutting of the windows and starting the first ledge from the roof. Today’s work was mainly around finishing the ledge design and then using the Bevel tool to smooth all the edges out on the ledge, soon after I started Planer Mapping which I will go into more detail soon, after that I then started UV texturing them as well as merging them together using the Attribute editor.
Here is the ledge before the Bevel stage, once bevelled I then went and started on the Planer Mapping of each part of the ledge.

Planer Mapping was quite difficult to get to grips with but with the tutorial it wasn’t so bad, it’s all about trial and error. All I had to do was adjust the settings so that the UV would be facing the right way and wouldn’t have so much information per face of the ledge.

This is the top part of the ledge design, showing what it looks like with the bevel stage and the planer mapping layout with the UV hidden.

Here is a part of the ledge which has been merged and sewed together and placed anywhere on the UV texture editor, but it will be placed somewhere else later on when I have done all the UV texturing so there will do for now.

The last print screen shows what the hotel looks like so far with the top ledge all done and without having to do the pain staking process all over again it is simple as to copy and adjust pieces of the top ledge on the next lower level ledge which I have just started.

Here is the ledge before the Bevel stage, once bevelled I then went and started on the Planer Mapping of each part of the ledge.

Planer Mapping was quite difficult to get to grips with but with the tutorial it wasn’t so bad, it’s all about trial and error. All I had to do was adjust the settings so that the UV would be facing the right way and wouldn’t have so much information per face of the ledge.

This is the top part of the ledge design, showing what it looks like with the bevel stage and the planer mapping layout with the UV hidden.

Here is a part of the ledge which has been merged and sewed together and placed anywhere on the UV texture editor, but it will be placed somewhere else later on when I have done all the UV texturing so there will do for now.

The last print screen shows what the hotel looks like so far with the top ledge all done and without having to do the pain staking process all over again it is simple as to copy and adjust pieces of the top ledge on the next lower level ledge which I have just started.

Subscribe to:
Posts (Atom)